Here’s an interesting DIY project I accomplished recently. I’ve never done such a project before but as it turned out, it wasn’t as difficult as I thought.
If you have any nice, expensive doors on your home, and for whatever reason you haven’t kept up real well on maintenance and refinishing them over the years, you may discover what I discovered. We have some Simpson Doors on our home. The front door and garage door seem to suffer the most from weather degradation. Unfortunately, when we built the home, I took some poor advice from someone on how to finish them so they didn’t get the right finish from the beginning. In a nutshell, I think the best finish should be:
- Stain to the color of your choosing. If you want a dark color, then it may require a few coats of stain, put on semi-thick and left to soak in for 15 minutes before wiping. Let is cure for 24 hours and do a second coat. In my case, I use Minwax Early American stain.
- Then, 9 coats of Spar Urethane with at least 24 hours of drying/curing time between coats. A light sand with fine sandpaper between coats and dust it off well before applying next coat. Yes, this is not a one day project. I use a sprayer and thin the Spar with about 10% paint thinner. You will need to set the door flat on a couple saw horses of some kind. You can brush it, but I’ve found that it is very difficult to apply smoothly around all the windows. Most doors of this type have 6-9 windows in them.
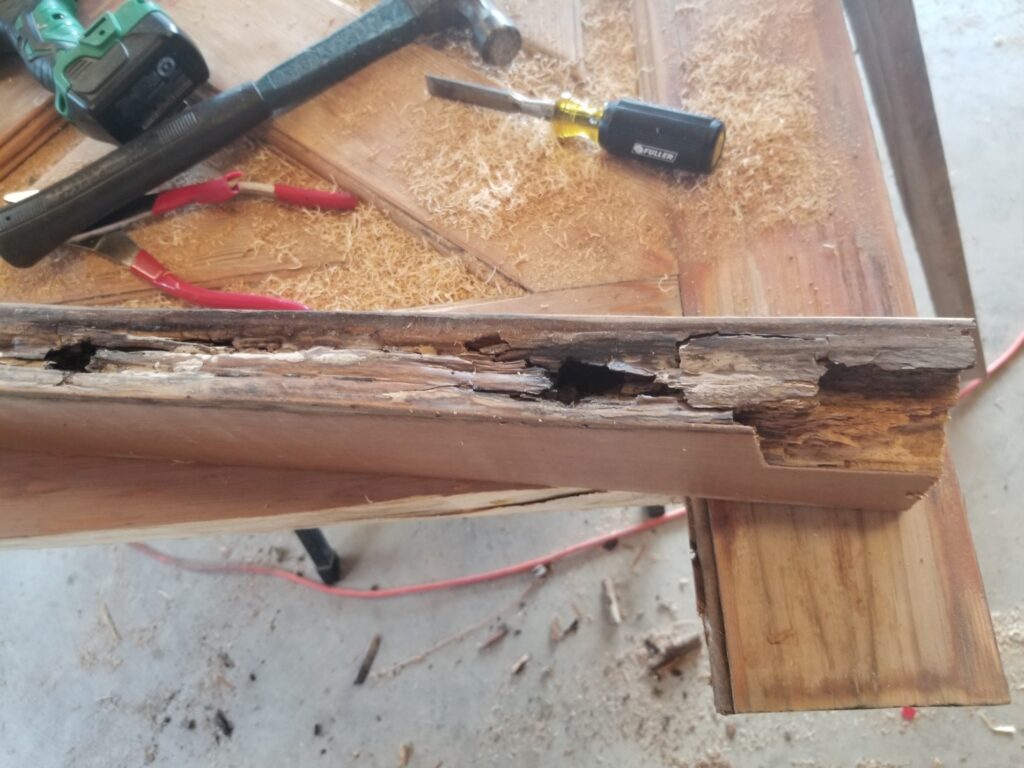
Now, here’s the problem I discovered on my garage door. Because it was not finished properly in the first place, and it is subject to rain and sun, when I removed it from the hinges to refinish, I discovered that the bottom rail of the door was pretty much gone from water rot. In addition, over the years of over-sanding(big mistake on my part) there were areas I had actually sanded through the veneer. Despite these doors being expensive, most doors have a veneer on them.
This is what I discovered. Once I had the door removed and supported on work tables, and removed the bottom seal, I discovered that the screws holding the seal on were just floating. They were no longer attached to anything. I didn’t hesitate long and grabbed the circular saw and started cutting. Crazy right? The vertical stiles of the door were solid so it was just the bottom 5 inches of the bottom rail that were rotted. I cut “almost all the way across just the rail, leaving the stiles untouched then used a wood chisel to clean out the remaining so that the grooves in the stiles stayed intact.
Ok, now that the rot is gone, now what do I do. I confess, I was totally flying by the seat of my pants. Making it up as I went along. What should I use to fill it back in? A piece of scrap 2×4? No, it wasn’t quite thick enough. How about that piece of cedar left from that tree I made the fireplace mantle from 15 years ago? Perfect… well almost, but being cedar, it most certainly would not be rotting any time soon.
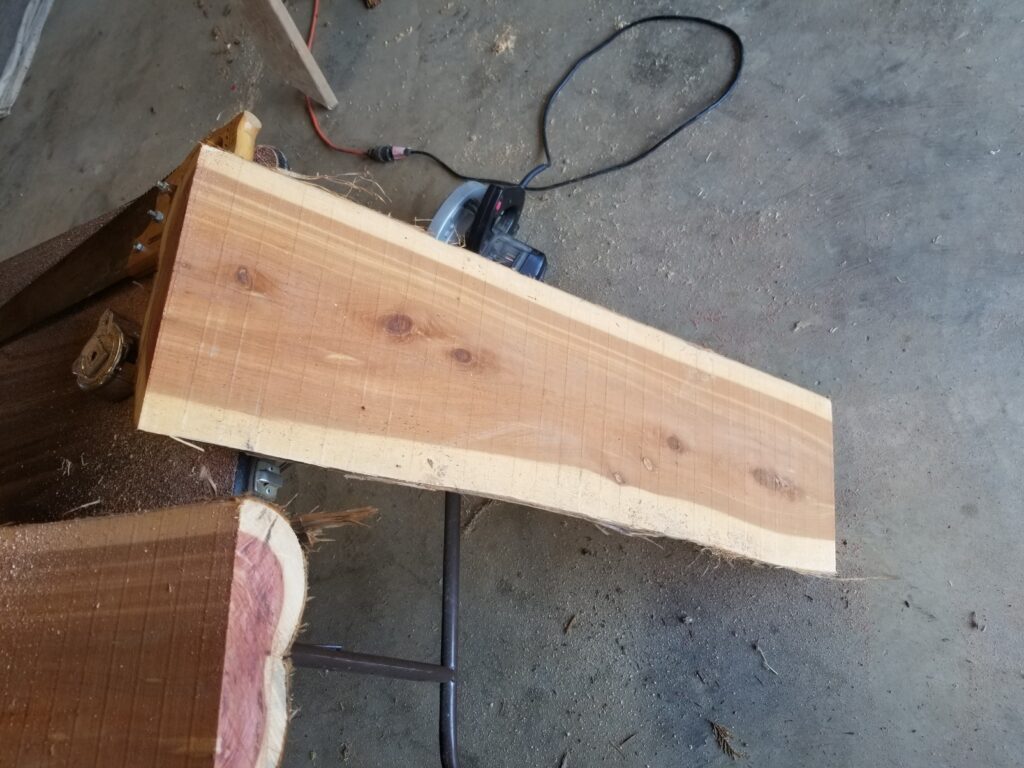
Again… Now what? I don’t have a planer. Let’s try the table saw. And voila!
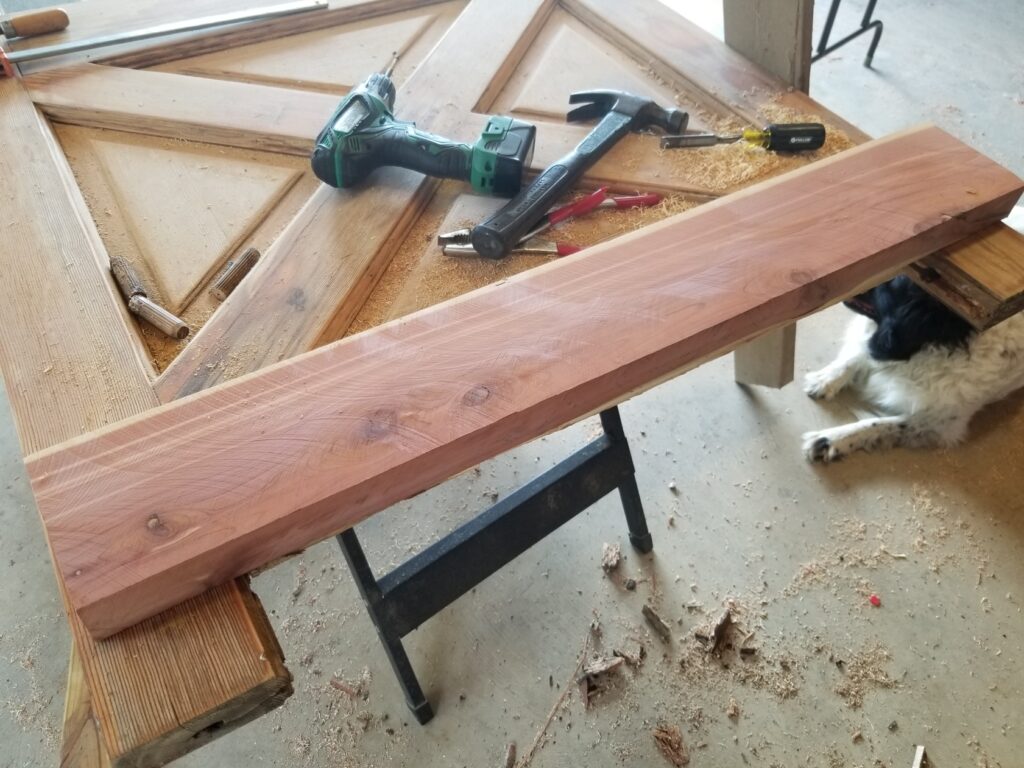
I just used the table saw to approximate the grooves needed in the ends in order to match up with the stiles. It wasn’t perfect, but worked fine. A router would work better but of course I made do with what I had.
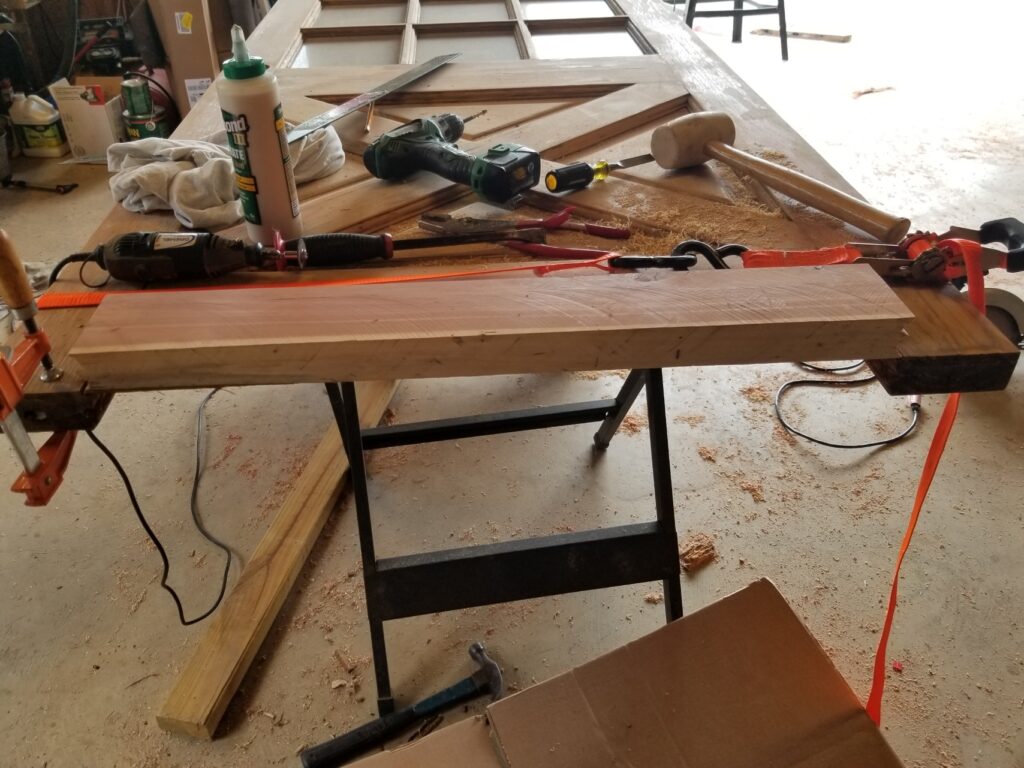
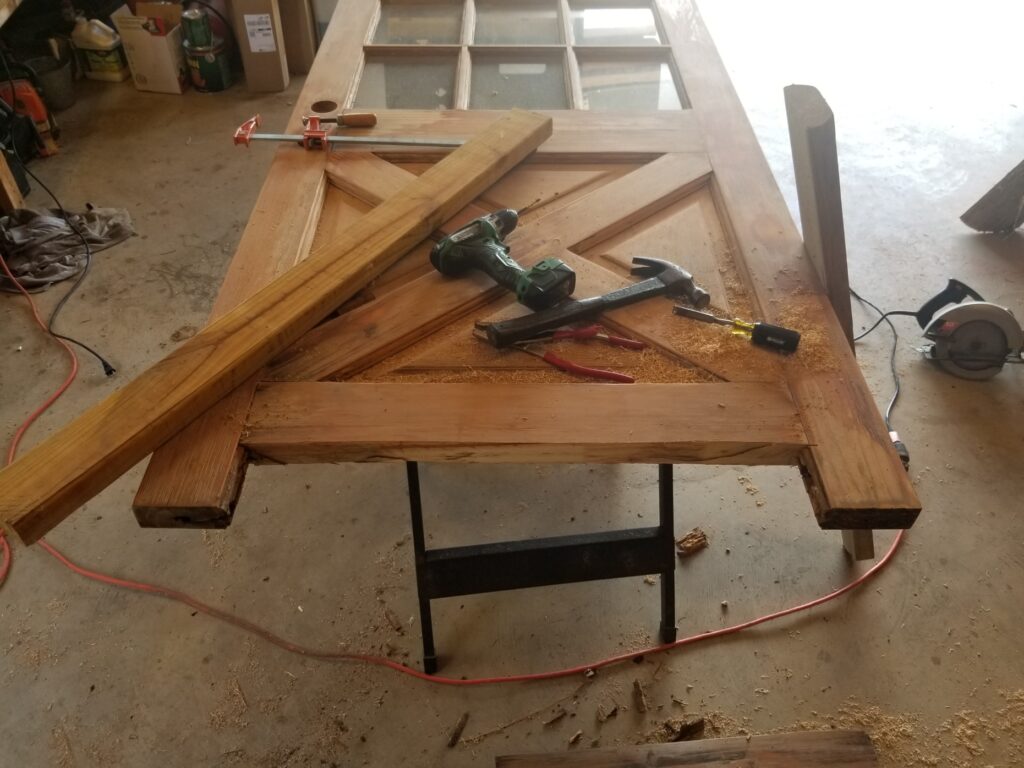
Progress. So once I had the grooves cut and test fitted it, I slid it in place, with lots of waterproof carpenter’s wood glue. I drilled some pilot holes in the sides of the stiles and ran 2 screws through the stiles, into the ends of the new bottom rail. Then did a little filling using automotive bondo, sanded it all down smooth. Notice I used a ratchet strap around the door to hold it tight. There was a little separation happening so once glued and screwed back in place everything would be tight.
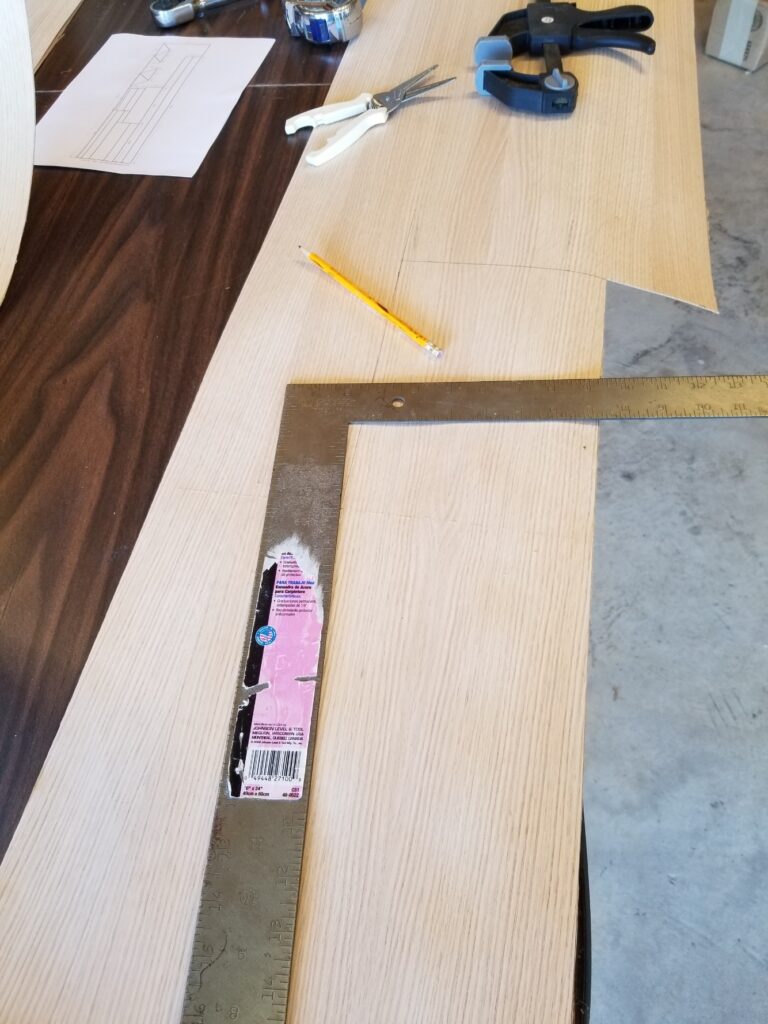
Alright. So the structure is back together, but it looks terrible. New veneer? But I’ve never done that before. Here we go. I ordered some red oak with glued backing. I couldn’t find any fir which is what I think the original was, but I guess that with the right staining process, I could get it to match pretty well. Here we go. I watched a couple youtube videos on applying veneer. I did a CAD drawing to layout the needed pieces to make most effective use of the veneer I purchased. Amazingly, I got away with using just 1 24×96 piece to cover the whole door.
In very short order I had the entire door skinned.
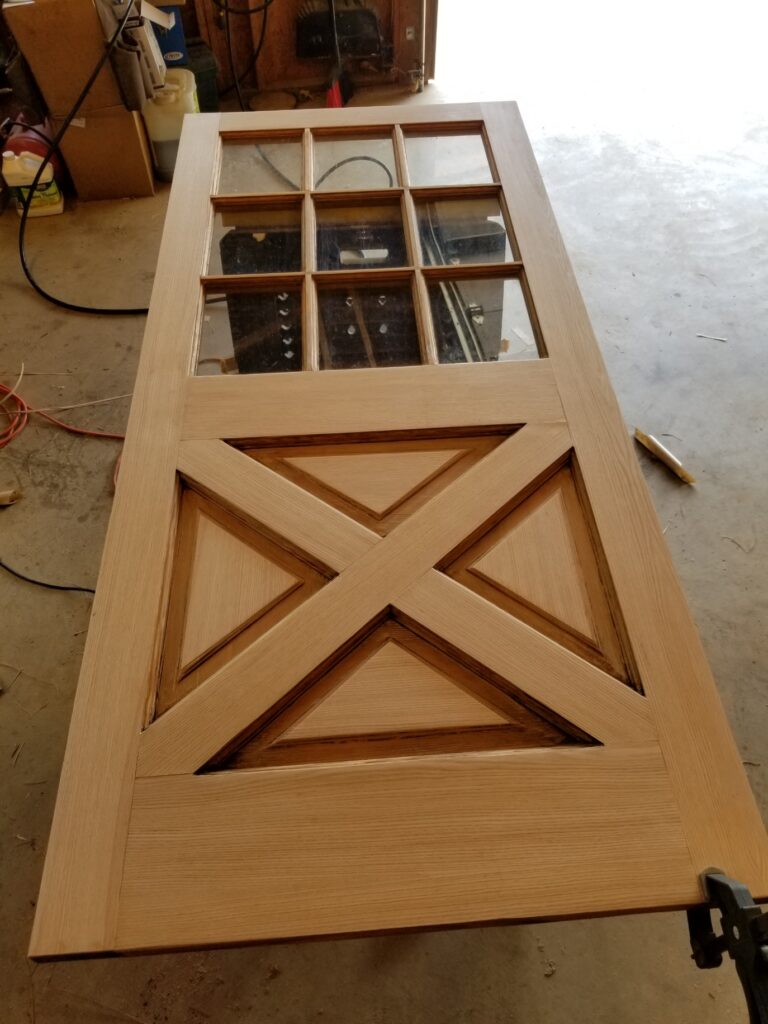
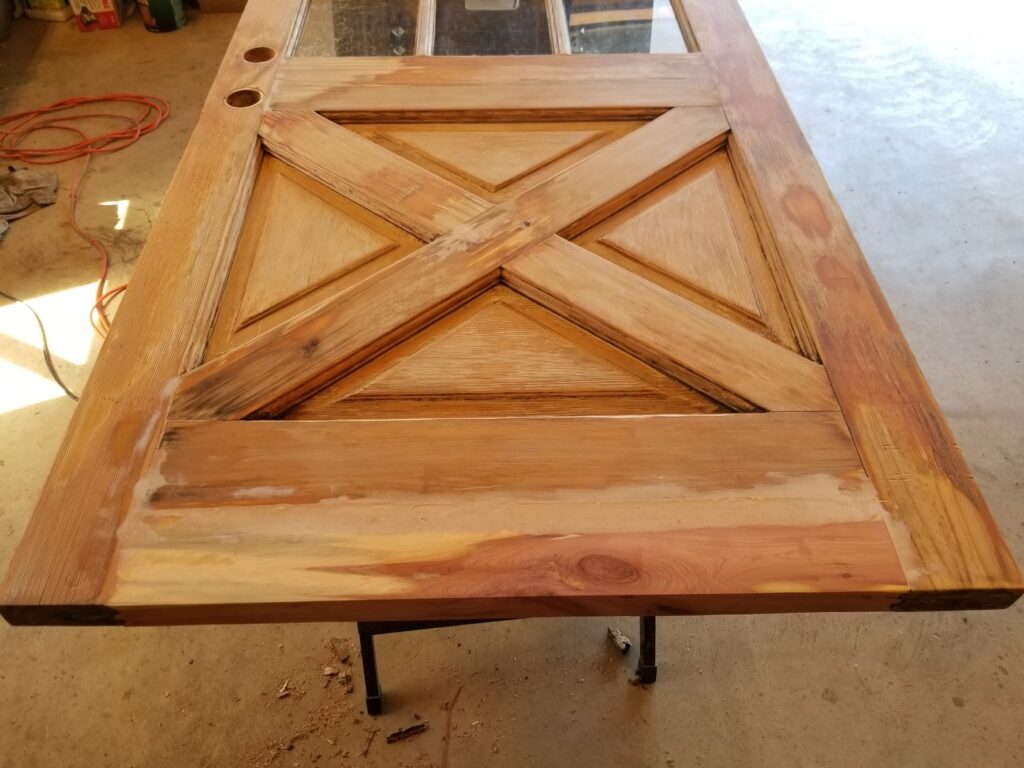
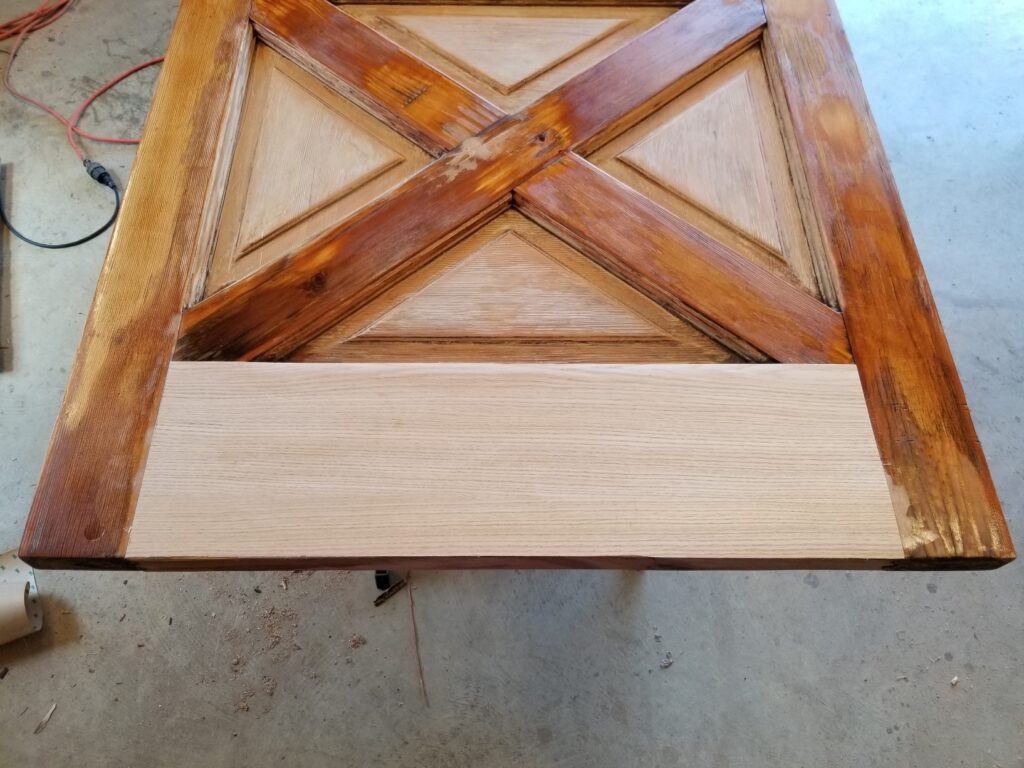
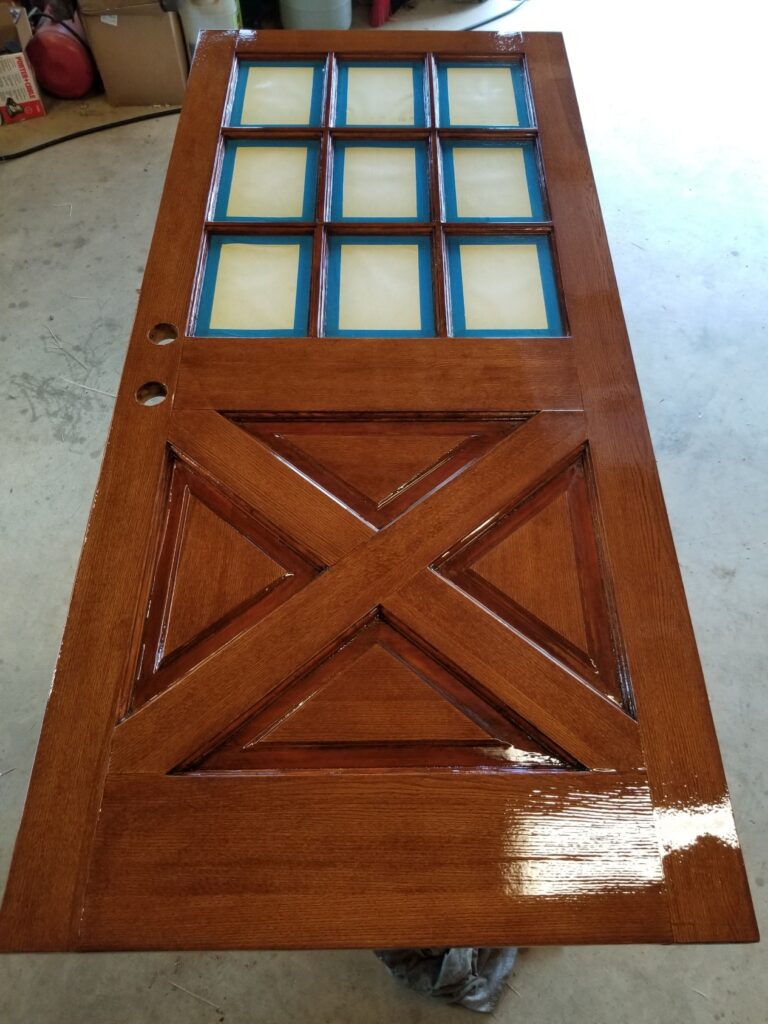
As you can see, the outlined triangles would have been very difficult to skin, so I just left that and hoped I could stain the rest to match. I did 2 coats of stain as described earlier. And here you go after 9 coats of Spar Urethane. That’s the way they finish wood on boats, so hopefully this lasts. You may be wondering about the interior side of that bottom rail. I managed to stain it so it was a close match since the rest of the door was fine and it’s just inside the garage. I gave the interior side just 3 coats.

Here’s the front door of the house. It did not need reskinning, but I did completely scrape and remove all the old finish back down to bare wood. Then new stain and the same 9 coats.

Don’t be afraid to try something new. You’ll learn something in the process. You may never do it again, but you will feel good for trying and accomplishing the project.